knacksnews
Troubleshooting GitHub Push Errors Related to Authentication
Pushing code to GitHub is a routine part of a developer's workflow—until something breaks. One of the most common and frustrating issues developers face is an authentication error when trying to push changes to a remote repository. You may see messages like “Authentication failed,” “Permission denied,” or “Support for password authentication was removed.” These errors can halt your progress, especially when you're on a deadline or working in a collaborative environment.
The good news? Most GitHub authentication issues are relatively easy to fix once you understand what's causing them. Whether you're using HTTPS or SSH to connect to GitHub, problems often arise from expired credentials, incorrect token usage, misconfigured SSH keys, or outdated Git settings.
In this guide, we’ll walk you through the most effective ways to troubleshoot and resolve GitHub push authentication errors. Step by step, you’ll learn how to restore access and keep your version control process running smoothly.
Why Does GitHub Reject Pushes?
Authentication errors occur when GitHub can’t verify that you have permission to push to a repository. This could be due to:
- Changes in GitHub's authentication policy
- Expired or missing personal access tokens (PATs)
- Misconfigured SSH keys
- Incorrect Git remote URLs
- Cache issues in credential managers
Understanding whether you’re using HTTPS or SSH to connect with GitHub is key to resolving the issue.
1. Identify Your Git Remote URL
First, figure out how your Git repo is connected to GitHub—via HTTPS or SSH. Open your terminal in the project folder and run:
git remote -v
You’ll see something like:
- https://github.com/username/repo.git → HTTPS
- [email protected]:username/repo.git → SSH
Once you know the protocol, follow the corresponding fix below.
2. Fixing HTTPS Authentication Errors
If your remote URL uses HTTPS and you're seeing an authentication error, the issue is likely due to GitHub removing password support. Passwords no longer work—you must use a Personal Access Token (PAT) instead.
How To Generate a PAT:
- Log in to GitHub.
- Go to Settings > then Developer Settings > then Personal Access Tokens.
- Click "Tokens (classic)" > then Generate new token.
- Choose scopes like repo, workflow, and gist based on your needs.
- Set an expiration date or keep it long-term.
- Copy the token—you won't see it again after closing.
Important: Treat your token like a password. Never share it or push it to code.
How To Update Git Credentials with Your Token:
Next time Git asks for your username and password when pushing:
- Use your GitHub username as the username.
- Use your PAT as the password.
If your system stores old credentials, you may need to clear them:
On macOS:
git credential-osxkeychain erase
host=github.com
protocol=https
On Windows:
Use Credential Manager to find and delete old GitHub entries.
On Linux:
You can clear stored credentials using:
git config --global --unset credential.helper
Then push again. Git will ask for new credentials—enter your token.
3. Fixing SSH Authentication Issues
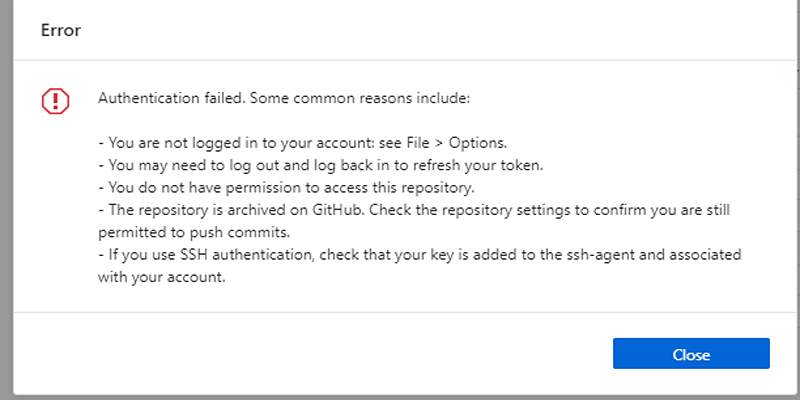
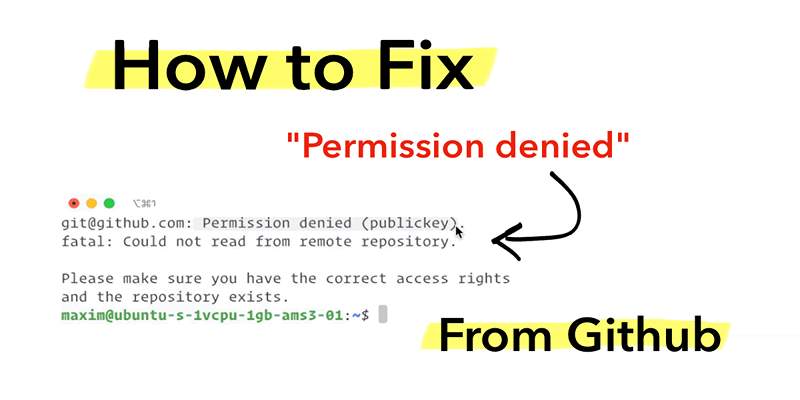
If you’re using SSH and get an authentication error like:
"Permission denied (publickey)"
"fatal: Could not read from remote repository"
It means GitHub can’t match your SSH key with an authorized key on your account.
Step 1: Check if you have an SSH key
Run this in your terminal:
ls -al ~/.ssh
Look for files named id_rsa, id_ed25519, or similar. If you don’t have one, create it:
ssh-keygen -t ed25519 -C "[email protected]"
Follow the prompts to save the key (default location is fine). Don’t add a passphrase if you want automatic access.
Step 2: Add your SSH key to SSH Agent
Once your SSH key is generated, you need to add it to the SSH agent so your system knows to use it when connecting to GitHub. This step helps manage your keys securely in the background.
eval "$(ssh-agent -s)"
ssh-add ~/.ssh/id_ed25519
Step 3: Add your SSH public key to GitHub
- Copy the key to your clipboard:
cat ~/.ssh/id_ed25519.pub
- Go to GitHub Settings > then SSH and GPG keys.
- Click New SSH key, paste the key, and save.
Step 4: Test your SSH connection Also
If you're using SSH and see errors like “Permission denied (publickey),” your SSH key may not be configured properly with GitHub.
ssh -T [email protected]
You should see:
"Hi username! You've successfully authenticated."
Now try pushing again.
4. Use Git Credential Helper (For HTTPS Users)
If you want Git to remember your token (so you don’t have to paste it every time), configure the credential helper:
git config --global credential.helper cache
Or on macOS:
git config --global credential.helper osxkeychain
Windows users can rely on the built-in Windows Credential Manager, which usually stores your token after the first use.
5. Double-Check Repository Permissions
If you’re pushing to a repository that isn’t yours (e.g., a team or organization project), make sure you have the necessary permissions. You need write or admin access to push code.
To verify:
- Visit the repository on GitHub.
- Click Settings (if visible) > Check Collaborators and Teams.
- Or ask the repo owner to confirm your access level.
6. Still Not Working? Clone Fresh and Try Again
Sometimes the easiest way to resolve weird Git behavior is to clone the repository again using the correct authentication method.
git clone [email protected]:username/repo.git
or you can try:
git clone https://github.com/username/repo.git
Then move your project files into the new folder, commit, and push.
Conclusion
Running into GitHub push authentication errors is common—especially with GitHub's changes to password-based login. But most of these issues come down to a misconfigured token, SSH key, or incorrect remote URL.
Once you identify whether you’re using HTTPS or SSH, the fix usually takes just a few steps: generate a personal access token or set up your SSH keys properly, and update your Git credentials. Keep your tools up to date, store tokens securely, and always double-check repo access permissions.
By following the steps above, you’ll not only resolve your current issue but also set up a cleaner, more secure workflow moving forward.
On this page
Why Does GitHub Reject Pushes? 1. Identify Your Git Remote URL 2. Fixing HTTPS Authentication Errors How To Generate a PAT: How To Update Git Credentials with Your Token: On macOS: On Windows: On Linux: 3. Fixing SSH Authentication Issues Step 1: Check if you have an SSH key Step 2: Add your SSH key to SSH Agent Step 3: Add your SSH public key to GitHub Step 4: Test your SSH connection Also 4. Use Git Credential Helper (For HTTPS Users) 5. Double-Check Repository Permissions 6. Still Not Working? Clone Fresh and Try Again ConclusionRelated Articles

What is IT Infrastructure Management and Why Does Your Business Need It

Which Are The 6 Best Electronic Signature Apps to Sign Documents Online in 2025

Top 7 UI/UX Design Tools Every Designer Should Know

How to Optimize Videos for WhatsApp: A Complete Guide

The Basics of S and OP: A Beginner’s Guide to Sales and Operations Planning

Quick and Simple Ways to Convert MPEG-4 to MP4 Format Online

How to Convert WebP to MP4 Without Losing Quality

Programmatic SEO: How Can You Increase Search Traffic Using No-Code Tools

Which Are The 7 Best URL Shorteners: Simplify Your Links in 2025

How to Use Free Tools Online to Convert EPUB Files to PDF Format

Calendly User Guide